

Mad About Molds
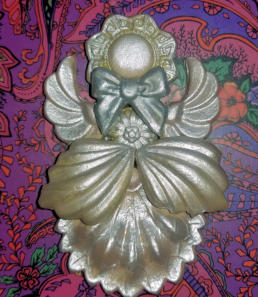
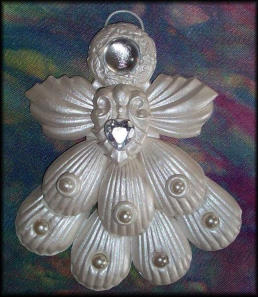
Angel Ornament 2
Step 1. With this angel we baked the mold castings before construction.
Step 2. After the castings cool is a good time to paint them. This way you can get
into tight spots if you want to paint each casting a different color before
constructing. Ours is painted in a soft gold, soft silver and bronze, and top coated
with a pearl white and sprayed with a clear coat of sealer.
Step 3. Lay out your clay shapes face-down. Overlap the center skirt piece as
shown. If you have trouble making the pieces line up, start at the bottom and
work your way up one piece at a time. Or lay the castings face-down in a bowl of
sand or it can be propped up on soft clay to support it at the right angles.
Step 4. We attached the mold castings together using a glue gun. Brace the
pieces by gluing an old nail file or popsicle stick on the back to make sure it is
strong and secure. (see photo.)
You can make variations of this angel by using different molds offered on our
site. Such as the wings and skirt shapes can be found on our “Wing” category
and the head shapes can be found on the cabochon settings pages.
Molds needed to make this angel.




Multiple Mold Projects

Step 1. After making your castings, lay out your clay shapes on a baking sheet.
Overlap the center skirt piece as shown. You can use Liquid Sculpey to connect the
pieces better if needed.
Step 2. Place a slightly flattened ball of clay in the center to support the body piece,
and to connect all the pieces together. Gently press down so the pieces become
secure after baking.
Step 3. Now attach the body piece to the center front of the angel. Bake this part of
your angel before contenting to the next steps.
Step 4. Now is the time to add any embellishments you wish before baking. Be
sure not to add anything that will burn or melt under high heat. We added pearls &
stones.
Step 5. Bake. Now that this is baked, you will be able to turn over the angel to
view the back-side. Make a wire loop and press between the back and a flattened
sheet of clay & press firmly.
Step 6. Gently place the 4 skirt pieces under the bottom to finish the skirt. Be sure
to press firm so the connections bake together secure. You may need to glue
some of your pieces if they are not secure after baking. After baking you can paint
the angel as you wish. Ours is painted with a pearl white and sprayed with a clear
coat of sealer. You can make variations of this angel by using different molds
offered on our site. Such as the wings and skirt shapes can be found on our “Wing”
category and the head shapes can be found on the cabochon settings pages.
Molds needed to make this angel.

Step 1. Make your clay castings, and then lay out on a baking sheet. You can use Liquid
Sculpey to connect the pieces better if needed.
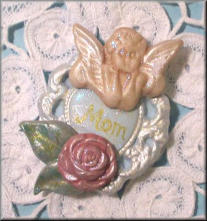
Step 2. This pin, was made with colored clay and sealed with pearl paint after baking. You
can also use white clay and paint it as well. It’s your personal choice of which way you
prefer to color it.
Step 3. Now attach a bar pin on the back. Note - We have special directions on how to do
this on our instructions page, if you wish to use them. They can be found on our craft tools
page.
Step 4. You can make variations of this angels by using different molds offered on our site.
Such as the flower or heart molds. And of course you can add the words… Sister, Friend,
Aunt or a name instead of Mom. We added ours with a gold gel pen.
Molds needed to make Mom Pin.

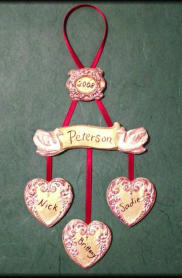
Step 1. Make as many hearts as you need to make your ornament. If you need more then
three hearts you can hang more then one from a ribbon by continuing the ribbon down to
connect another heart.
Step 2. After making your castings, bake and paint, or embellish anyway you wish. It’s easier
to do this before you add the ribbon.
Step 3. Now turn all your pieces over so the backs are right side up. Lay the pieces out in the
order you wish them to hang. Cut your ribbons to the length needed and glue to the back. We
used E6000 and it worked very nicely.
Step 4. You can make variations of this ornament by using different molds offered on our
site.
Molds needed to make Ornament.
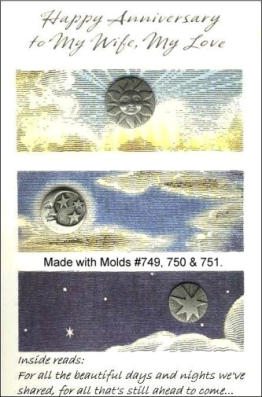
Molds needed to make Greeting Card
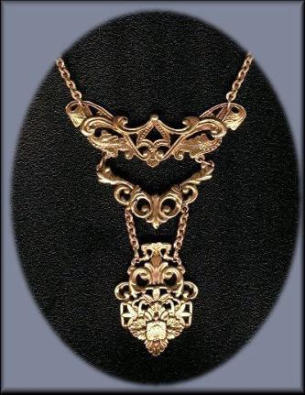

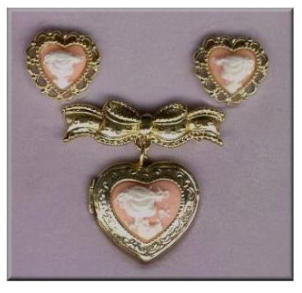
Molds needed to make this Jewelry Set
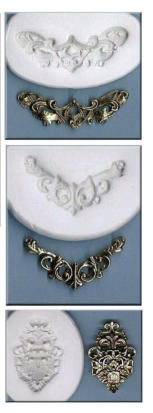
Molds needed to make Necklace




- Home
- About us
- Art clay projects pmc
- Basic instructions
- Cameos and molds
- Contact us
- Castings materials and instructions
- Casting recipes
- Chat
- Custom molds
- Creative ways to use molds
- Flexible mold instructions
- Gallery to inspire
- Payment and shipping
- Safety precautions
- Search and site map
- Testimonials
- Troubleshooting
- Video
Mad About Molds
